Full Node ETH 2.0
Sau khi apply The Merge thành công thì để chạy được node Ethereum cần 2 client là execution layer (EL) và consensus layer (CL).
Trong bài viết này mình sẽ cài đặt Full Node ETH (không phải Validator), sử dụng EL Geth và CL là Prysm.
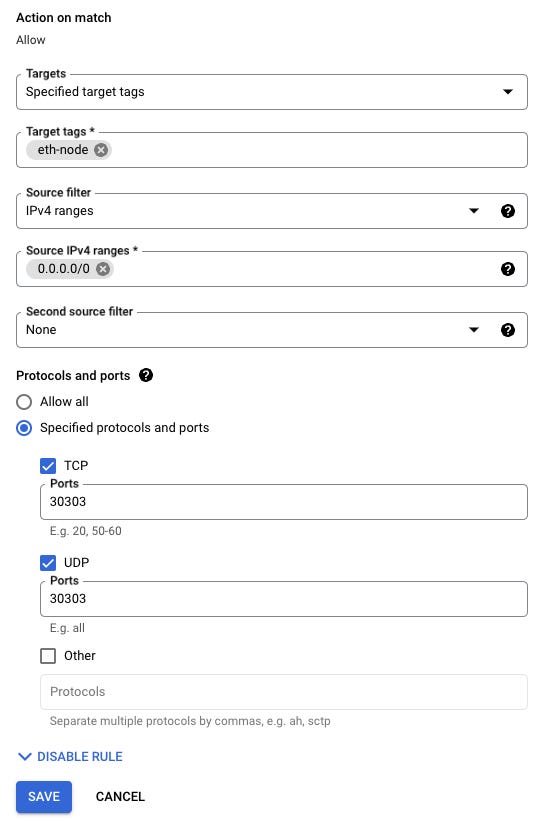
Cấu hình firewall
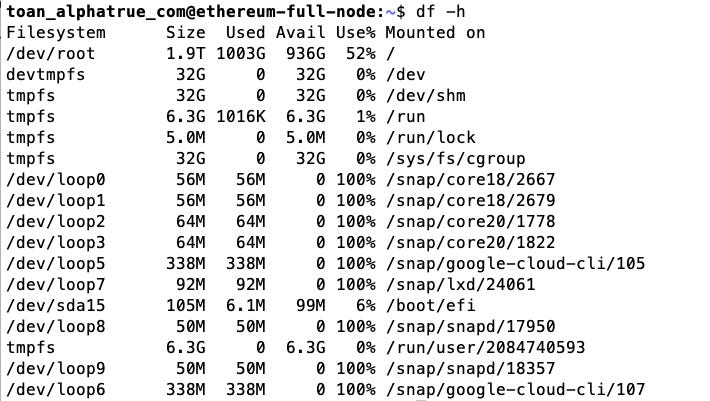
Mình dùng server của GCP với cấu hình c2-standard-16 (16 core, 64GB Ram), 2TB SSD.

Firewall rules

Cài đặt Geth
# Add Repo
sudo add-apt-repository -y ppa:ethereum/ethereum

# Install Geth
sudo apt-get update
sudo apt-get install -y ethereum

geth version
# Geth
# Version: 1.11.0-stable
# Git Commit: 18b641b0643fc56d1fe5b90d3c7a5ecbf981add4
# Architecture: amd64
# Go Version: go1.19.5
# Operating System: linux
# GOPATH=
# GOROOT=
# generate jwt token
mkdir -p /root/ethereum
openssl rand -hex 32 | tr -d "\n" > /root/ethereum/jwt.hexcat <<EOF > /etc/systemd/system/geth.service
[Unit]
Description=Geth
[Service]
ExecStart=/usr/bin/geth --http --http.api eth,net --http.vhosts=* --ws --ws.port 8546 --ws.origins=* --ws.api eth,net,web3 --authrpc.jwtsecret /root/ethereum/jwt.hex
StandardOutput=append:/root/geth.log
RemainAfterExit=no
Restart=on-failure
RestartSec=5s
[Install]
WantedBy=default.target
EOF# Enable Service
sudo systemctl enable geth
# Start Service
sudo systemctl start geth
# Ensure it's running, by checking logs
tail -f /root/geth.logCài đặt Prsym
cd ~ && mkdir prysm && cd prysm
curl https://raw.githubusercontent.com/prysmaticlabs/prysm/master/prysm.sh --output prysm.sh && chmod +x prysm.sh
Chạy prysm manual để accept license
/bin/bash /root/prysm/prysm.sh beacon-chain --execution-endpoint=http://localhost:8551 --jwt-secret=/root/ethereum/jwt.hex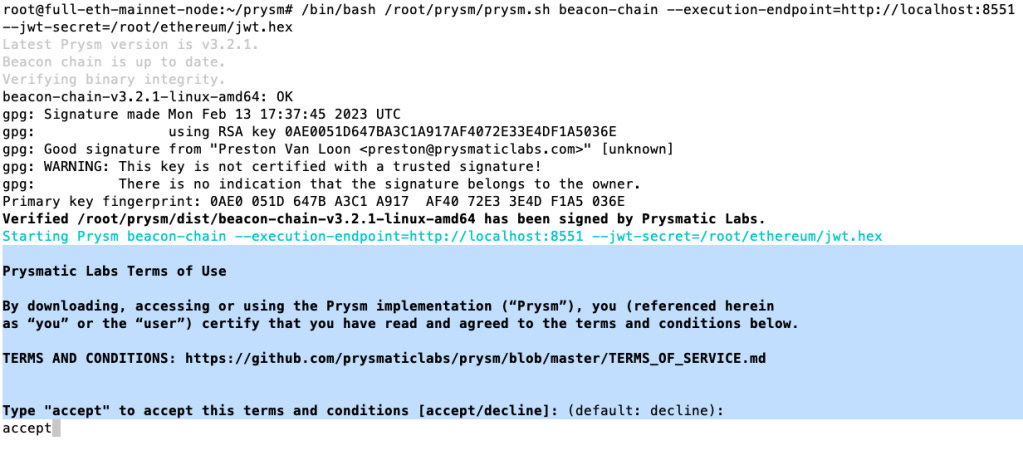
cat <<EOF > /etc/systemd/system/prysm_beacon.service
[Unit]
Description=Prysm
[Service]
ExecStart=/bin/bash /root/prysm/prysm.sh beacon-chain --execution-endpoint=http://localhost:8551 --jwt-secret=/root/ethereum/jwt.hex
RemainAfterExit=no
Restart=on-failure
RestartSec=5s
[Install]
WantedBy=default.target
EOF
sudo systemctl enable prysm_beacon
sudo systemctl start prysm_beaconCheck log
journalctl -f -u prysm_beacon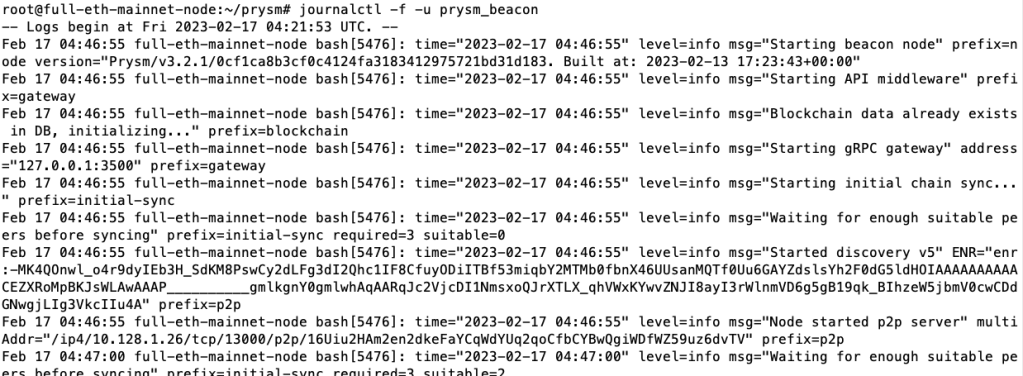
Cài đặt Nginx
sudo apt update
sudo apt install -y nginx
sudo systemctl enable nginxCấu hình proxy
cat <<EOF > /etc/nginx/sites-enabled/eth-full-node
server {

  listen 80;
  listen [::]:80;
  server_name eth-full-node.local;

  location ^~ /ws {
      proxy_http_version 1.1;
      proxy_set_header Upgrade $http_upgrade;
      proxy_set_header Connection "upgrade";
      proxy_set_header X-Real-IP $remote_addr;
      proxy_set_header X-Forwarded-For $proxy_add_x_forwarded_for;
      proxy_set_header Host $http_host;
      proxy_set_header X-NginX-Proxy true;
      proxy_pass   http://127.0.0.1:8546/;
  }

  location ^~ /rpc {
      proxy_http_version 1.1;
      proxy_set_header Upgrade $http_upgrade;
      proxy_set_header Connection "upgrade";
      proxy_set_header X-Real-IP $remote_addr;
      proxy_set_header X-Forwarded-For $proxy_add_x_forwarded_for;
      proxy_set_header Host $http_host;
      proxy_set_header X-NginX-Proxy true;
      proxy_pass    http://127.0.0.1:8545/;
  }
}
EOF
Cấu hình ở trên sẽ có 2 endpoint là:
- ws://eth-full-node.local/ws -> trỏ vào port 8546
- http://eth-full-node.local/rpc -> trỏ vào port 8545
# test config
nginx -t
# nginx: the configuration file /etc/nginx/nginx.conf syntax is ok
# nginx: configuration file /etc/nginx/nginx.conf test is successful

# reload lại config proxy
sudo systemctl reload nginx
Test endpoint
Map domain với ip trong /etc/hosts dưới client, ví dụ
34.172.255.196 eth-full-node.local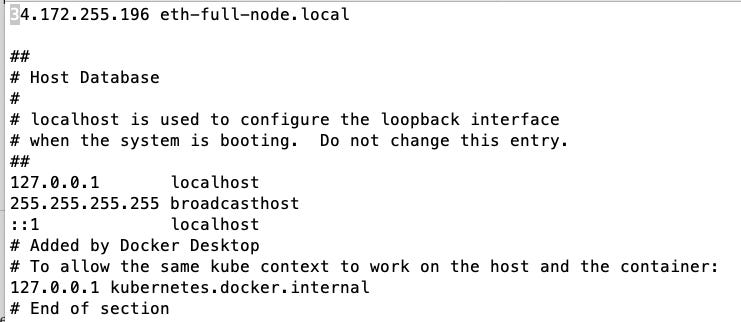
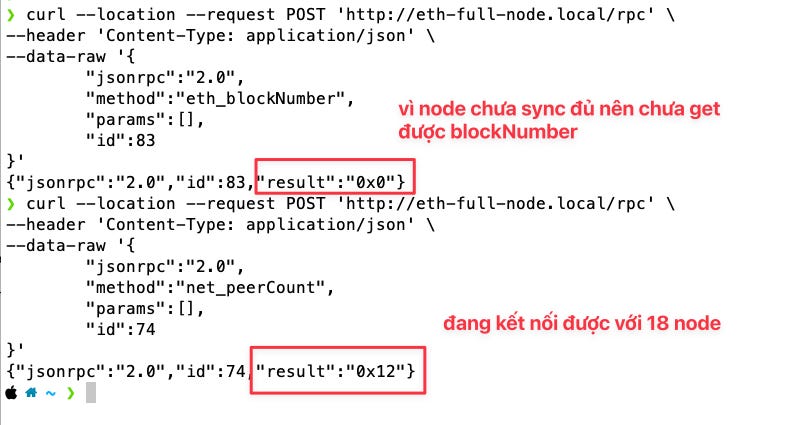
Test endpoint
curl --location --request POST 'http://eth-full-node.local/rpc' \
--header 'Content-Type: application/json' \
--data-raw '{
        "jsonrpc":"2.0",
        "method":"eth_blockNumber",
        "params":[],
        "id":83
}'


curl --location --request POST 'http://eth-full-node.local/rpc'
--header 'Content-Type: application/json' \
--data-raw '{
        "jsonrpc":"2.0",
        "method":"net_peerCount",
        "params":[],
        "id":74
}'
Dung lượng khi chạy full node
